Easy Techniques For Beginners: Plaster Wall Art Made Simple
Plaster art is a versatile and engaging way to bring your creative ideas to life. It allows you to create textured designs, sculptures, and wall art that stand out. If you are a beginner or an experienced artist, plaster offers endless possibilities. The process is simple and fun, which allows you to experiment with different techniques and colors.
Are you ready to start your plaster art project? Let's dive into the essential steps that will help you master this unique craft.
What Is DIY Plaster Art and How Can You Create It?

DIY plaster art is a fun and creative way to make your unique artwork. It involves using plaster or multi-purpose filler to create textured designs on a canvas or another surface. The process is simple, and you don’t need to be an artist to create something beautiful. You can turn basic materials into a piece of art that fits your style.
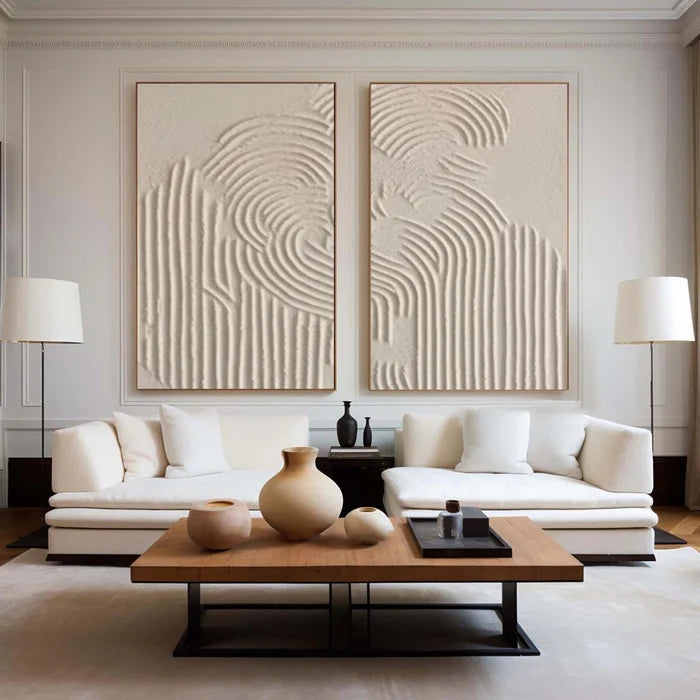
How does it work? You apply plaster to your canvas and then shape it into patterns or textures. The result is a textured, 3D effect that gives your art a modern, handcrafted feel. You can make it your own by choosing the colors and designs that reflect your taste.
Why should you try it? It’s a low-cost project that only requires a few supplies. It’s a great way to experiment with textures and shapes without needing advanced skills.
Are you ready to get started? Grab your materials, and let’s dive into creating your plaster art masterpiece!
What Supplies Do You Need For Plaster Art?
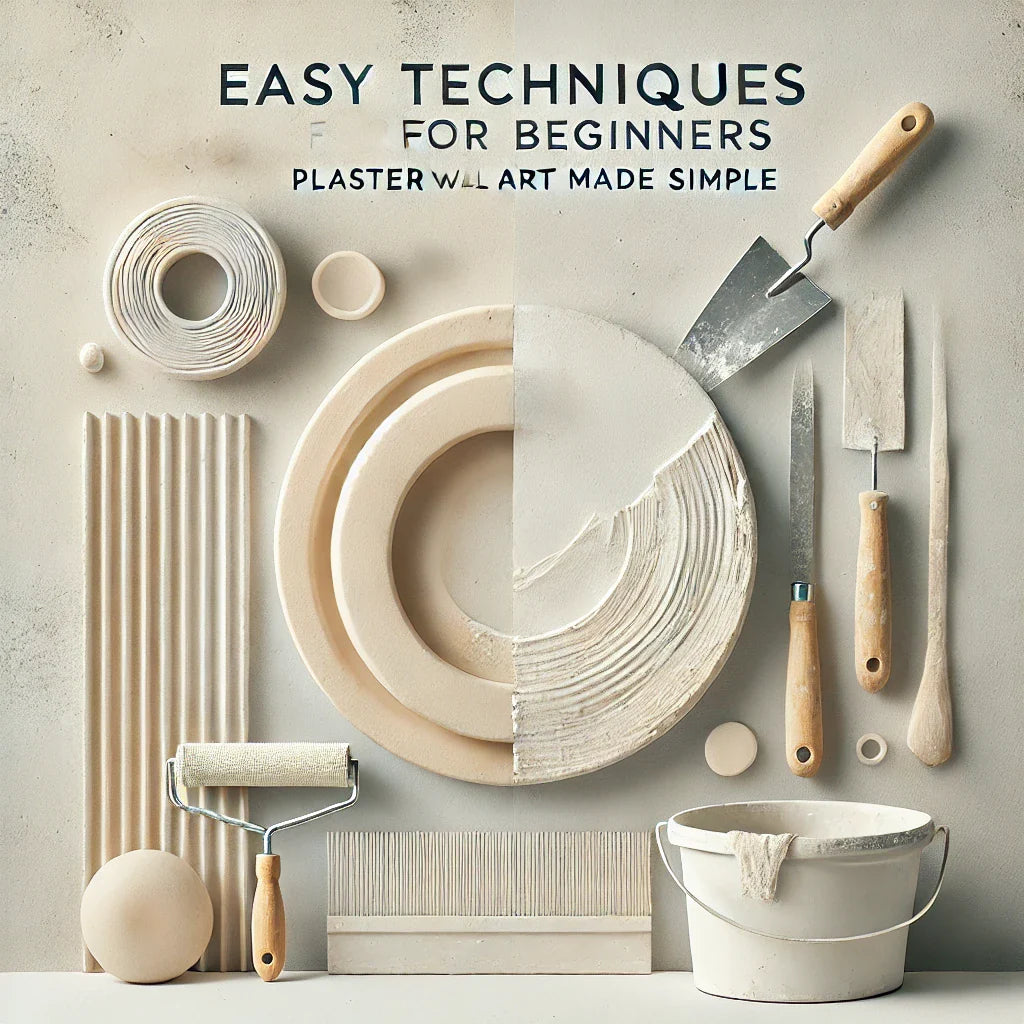
You should start with a canvas or framed artwork. Any flat surface will work. You can use an old artwork or buy a cheap one. You need to—choose something that fits your style. Next, grab multi-purpose filler. It creates texture and helps build the design. You should use a scraping tool to spread it. A larger one makes the job easier.
Do you want to define clean edges? Painter’s tape will do the trick. Apply it to protect areas you don’t want to be plastered. It also helps keep frames free of filler. It is important that—pick up some paint or spray paint to add color. Spray paint works best for textured surfaces. You may choose a shade that suits your vision. Color can bring your creation to life.
Are you ready to get started? Gather these supplies, and you’ll be all set to dive into your plaster art project.
What Are the Key Tips For Perfecting Your Plaster Art?
You should start with a clean surface. Dust or dirt can ruin your plaster's adhesion. Have you made sure your canvas is spotless?
You Can Start with a Clean Surface
Ensure your canvas is free of dust and dirt. Any residue can affect plaster adhesion. Is your surface clean before starting?
Apply Thin Layers of Plaster
Thin layers dry quicker and more evenly. Thick layers may crack or take too long to dry. Have you applied plaster evenly across the surface?
Experiment with Scraping Tools
You may use different tools to create texture. Scraping tools can give your art unique shapes and designs. Have you tried various tools to see which texture suits your artwork?
Let the Plaster Dry Completely
Don’t rush the drying process. Allow the plaster to fully dry to avoid cracks. Did you give enough time for the plaster to set?
Use Light Layers of Paint
Heavy paint can obscure the texture. Apply light coats to let the plaster’s texture shine through. Are you using just enough paint to enhance, not cover, the texture?
Embrace Imperfections
Imperfections add character to your piece. Don’t worry if things don’t turn out perfectly. Are you ready to embrace the beauty of the flaws in your art?
How Do You Prepare Your Workspace for a Mess-Free Project?
You should start by choosing the right spot. A large table or flat surface works best. Do you have enough space to spread out your materials? Make sure there’s enough room for everything.
Protect your workspace. Lay down a drop sheet or plastic cover. This keeps your table or floor free from any plaster spills. Are you worried about the mess? A plastic tablecloth also helps.
You may consider your surroundings. Work outside or in a garage if you can. Plaster can get messy, and outdoor areas make clean-up easier. Can you move your project to a space that’s easy to clean?
Now, gather all your supplies. Have everything within arm’s reach. This avoids moving around while you work, and keeping things tidy. Make sure you have your tools organized. Are your paints, filler, and tape ready?
Once you set up, your workspace will stay clean. Its simple steps help keep things mess-free and enjoyable. Ready to start your plaster art? The prep work will make all the difference.
How Do You Apply Plaster to Your Artwork?
It is important to—start by choosing a large scraper or spatula. You need something that will spread the plaster smoothly. Apply the multi-purpose filler to your canvas. Spread it generously, covering the surface evenly.
Work quickly. Plaster dries fast. Once applied, take a smaller scraping tool to shape the plaster. Do you want a smooth surface, or are you going for texture?
Create your design next. Press lightly to add texture, or scrape away more for defined patterns. Do you have a specific shape in mind? You can try abstract lines, circles, or even arches.
Take your time to experiment. Plaster is easy to work with, and you can always start over. Don’t worry if it’s not perfect at first. The more you practice, the better your shapes will look.
Let the plaster dry completely before moving on to the next steps. The drying time will depend on how much plaster you used. Keep an eye on it. Once it's ready, you can prime and paint your artwork. Ready to add color next?
How Do You Add Color to Your Plaster Art?
You need to start with a primer. It will help the paint stick better to the plaster. Once the primer is dry, you can add color. You have to—choose your paint carefully. Spray paint works well because it gets into the grooves and textures easily. Are you looking for a bold color or something more subtle?
Apply the paint in thin layers. Don’t rush it. Let each layer dry before adding more. Do you want a smooth look, or would you like some texture to show through? You may try different colors. Mix shades for a unique effect. Experiment with metallics, pastels, or even textured finishes. What colors do you have in mind?
After applying the paint, step back and take a look. Does it look how you imagined it? If you want more depth, add another layer. Allow the paint to dry completely before you hang your artwork. Your plaster art will have a fresh, vibrant look that stands out. Ready to see your masterpiece come to life?
Where Should You Display Your Finished Plaster Artwork?
You should consider where it will catch attention. A hallway or living room could be a perfect spot. Think about the space available and the colors in the room. Does your artwork match the surroundings? Hang it where light can highlight its texture. Natural light works best. Would you like to see the shadows created by the plaster? These details can add depth.
It is suggested that—choose a place where it’s easy to admire. Don’t hide it away. Does it stand out in the room? Ensure it’s at eye level so everyone can enjoy it. If you prefer a unique look, display your plaster art on a shelf or mantel. What about a stand-alone feature in the center of a room?
Above all, make sure the space complements your artwork. Does the artwork bring something new to the area?
Conclusion
Plaster art is a fun and simple way to enhance your creativity. The steps are straightforward, and you don’t need special skills to start. Focus on the process, and don’t rush it. Each piece will reflect your unique touch. Enjoy experimenting with textures, colors, and designs. The more you create, the better your art will become.
Ready to try it yourself? Grab your supplies and begin!
FAQs
Can I use regular plaster for artwork?
Yes, you can use regular plaster, but make sure it’s the right consistency for your project. You may need to mix it to the correct thickness depending on the type of art you’re creating.
How long does it take for plaster to dry?
Drying time varies depending on the thickness and environmental conditions. Typically, plaster takes 24 to 48 hours to dry completely.
Can I add color to the plaster before it dries?
Yes, you can add color to the plaster while it is wet. You can mix in pigments, acrylic paints, or dyes to achieve your desired shade.
How do I fix cracks in plaster art?
If cracks appear, you can fill them with more plaster and smooth the surface. Once it dries, sand it down to blend with the rest of the artwork.
Is plaster art durable for outdoor display?
Plaster is not recommended for outdoor use unless sealed properly. Exposure to moisture and fluctuating temperatures can cause damage. Make sure to use a waterproof sealer if you plan to display your art outside.


