Planning Vinchy Art for Your Living Room: Selection and Before-and-After Notes
Define the room change you want
A living-room painting can be selected for a focal point, a palette relationship, or a composition you enjoy from the sofa. Identify the visual aim before choosing a model. The painting should connect with the room you actually use, including its furniture, lighting, and ordinary viewing positions.
This guide helps turn that aim into a measured plan and a clear purchase record. A digital visualization can help compare options, while an installed photograph records the later result. Keep those purposes separate as you move from an idea to a finished display.
Establish the room before the purchase
Take a room photograph that includes the intended wall and relevant furniture. Record actual measurements and note doors, storage, or other constraints. Keep any proposed furniture or lighting changes visible in the plan rather than treating a temporary arrangement as fixed.
Write down the visual change you hope to make and the feature that matters most. A focal point or palette preference can guide selection without becoming a measured wellness claim. Keep that aim beside the model shortlist so the choice has a recognizable purpose.
Document the selection decisions
Record the model, size, orientation, format, and proposed personal requests. Compare options using the same room measurements. If the preference changes after a preview or clarification, note the reason so the final configuration remains connected to the choice you actually made.
Keep canvas dimensions, outer-frame size, and complete footprint clearly labeled. Use actual specifications beside the room measurements. A photograph can illustrate balance while leaving the numeric configuration unconfirmed.
Label planning images clearly
The room-preview page describes sending a room photo, reference measurement, and desired configuration. Confirm current terms and retain the model, size, and frame with each returned visualization. Label versions when comparing alternatives.
Label a rendering as planning information and use an actual connected photograph for the installed result. If a composite explains an option, keep it separate from the before-and-after evidence.
Plan the route from delivery to installation
Identify the preparation needed for the selected delivered format. If a local professional will stretch or frame the canvas, obtain a suitable quote using confirmed information. Keep that work separate from what the seller supplies so the final display arrangement is clear.
Arrange installation for the actual wall and artwork where assistance is needed. Record the service scope, date, and cost. A room preview supplies placement context, while an appropriate mounting arrangement needs its own confirmation based on the actual construction and location.
Document a comparison without hiding other changes
Use similar viewpoints and explain meaningful differences in camera position, lens, lighting, or crop. Retain the originals. A wider after photograph or brighter exposure can change the room's apparent scale and mood even without a corresponding physical change. The comparison should not conceal those photographic effects.
List other changes to furniture, paint, lighting, or accessories. The artwork's role can be described without attributing the complete redesign to it. Keep photographic differences identified alongside physical changes.
Assess the installed result in ordinary use
After installation, view the painting from the positions included in your plan. Note how the composition and frame relate to the furniture, then describe your own preference separately. A photograph can show the arrangement while your assessment explains whether it meets the original visual aim.
Keep personal enjoyment at its actual scope. The installed view and your reaction do not establish a property-value increase or general health effect. Record a practical adjustment if one is needed, such as a different viewing arrangement, rather than treating every part of the first plan as final.
Keep the budget and practical effort visible
Record the purchase and any preparation, transport, or installation expenses relevant to the project. Compare quotes with amounts actually paid. Include a difficulty with scale, access, or scheduling if it affected the result, even when you enjoy the finished painting.
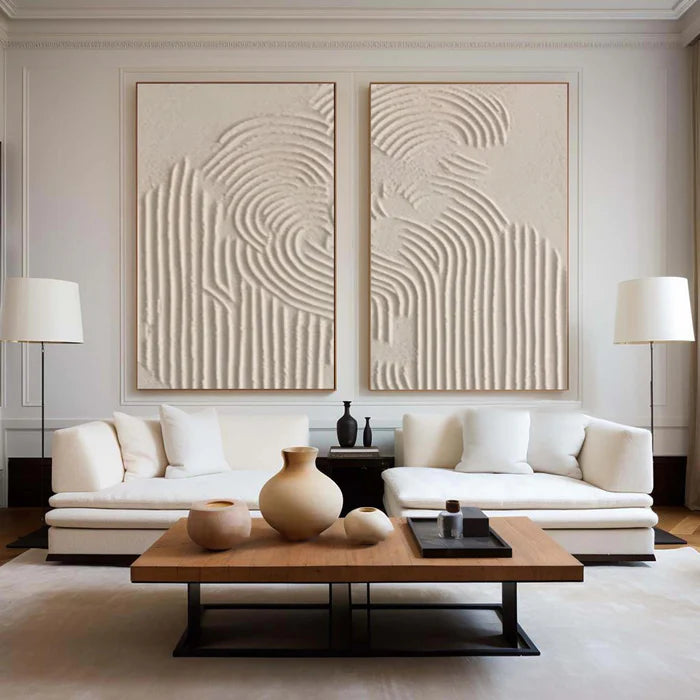
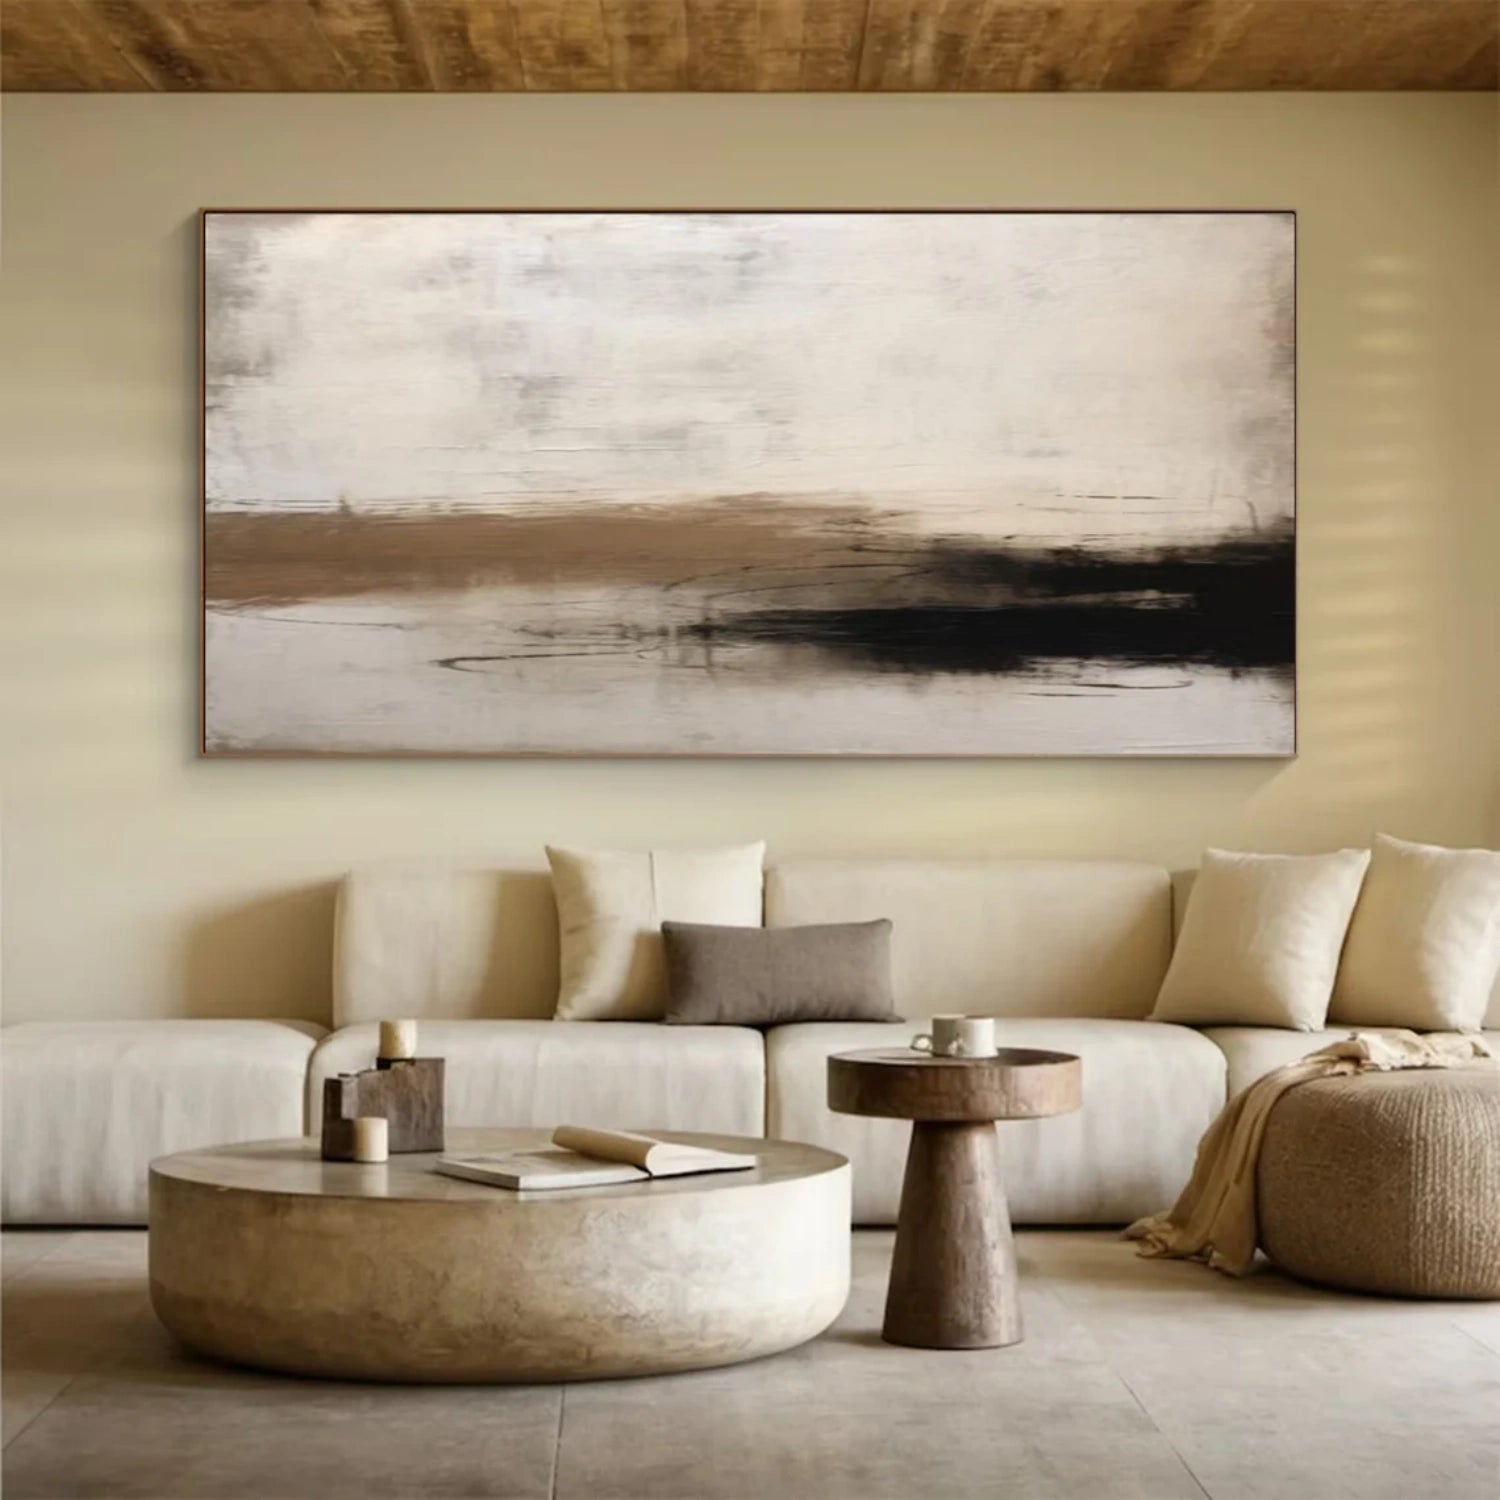
If sharing room images, remove private documents or labels visible in the background. Confirm permission from the photographer and relevant people where needed. Label your own project accurately rather than presenting a showroom image or rendering as a customer installation.
Keep one room plan through the purchase
Collect the room measurements, selected configuration, quote, important clarifications, planning image, and latest preview decision together. The FAQ describes finished-work previews; confirm the response and dispatch arrangement for the actual order.
After receipt, add local preparation and installed images if you record them. Use dates and captions that distinguish the planning stage from the finished room. Explain changes to furniture, lighting, or photographic conditions so a before-and-after pair remains understandable.
A useful living-room plan connects the composition you enjoy with a workable size, format, budget, and installation route. Assess the actual result against that plan. The practical decisions can inform a later review without an invented transformation or a promise that one painting produces the same effect in every home.